
i usually bend the shit out of the moldings....Originally Posted by smooth

damn amateur.....


i usually bend the shit out of the moldings....
damn amateur.....

I have done 3 pairs. Sandpaper grit depends on how bad of a pair you start with. 150 is a good place to start, then 320, then prime like crazy and sand between every 1 or 2 coats. Do this again and again and again until they are perfect. Put a few coats of trim black, then....SEM makes a "low luster clear" that I used on the last pair. It sealed the deal. The 2nd pair I did, I did not use the clear, and after cold weather, moisture must have gotten in and made tiny...almost microscopic bubbles in the paint. It was noticeable close up (within 6 inches) but not from 12" or further. But when you are restoring something, take pride in what you do and do it correctly.
BTW....do this OUT OF THE CAR. If you do these in the car, then take them out for paint the body....you will crack the shit out of the primer and paint and they will be ruined.
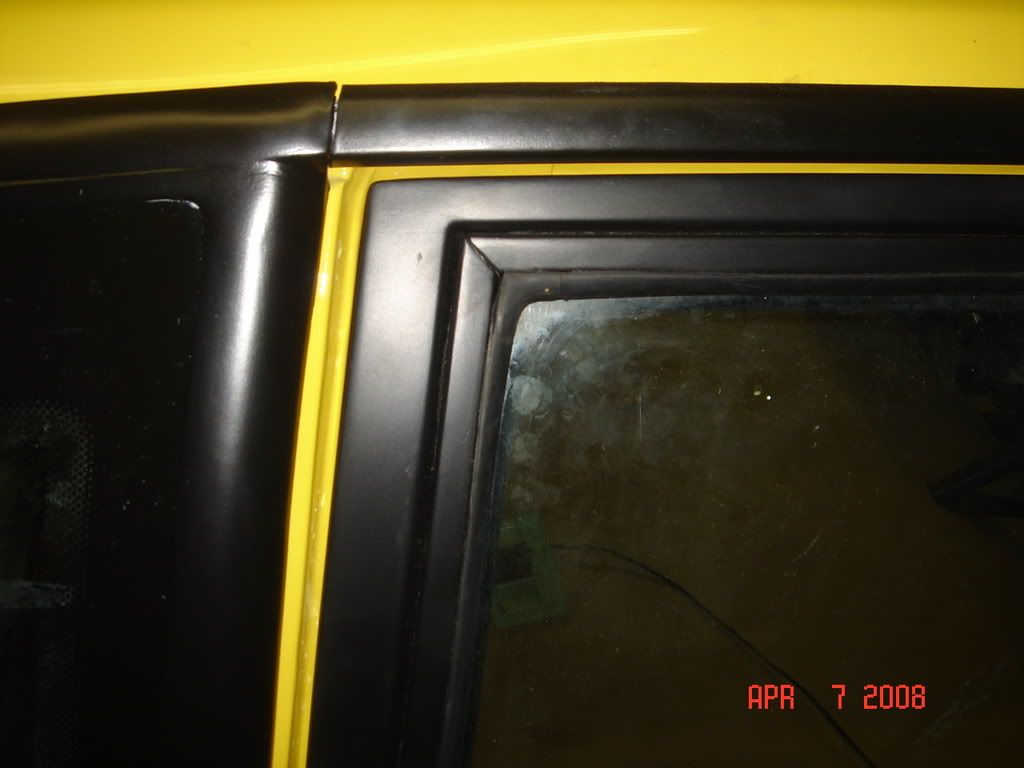
Never took befores, but here are the afters...
And yes...the yellow strip is suppose to be black and it was...the car was NOT finished at this point.
that's a damn nice job!...props to you.
Thanks. It's all time. I spent a lot of time on this pair, and could have spent even more. It's actaully very cheap to repair.
I just used rattle can primer too. Next pair, I want to try my Nason Urethane 2K primer. I don't know why I didn't think it use that before. A couple coats of that versus the couple CANS of the cheap stuff would have saved me lots of time.

Want to try on mine?
Yes, I would. PM me if your are serious.
seems like that'd be a nice little side gig. hell, i've got 3 sets that i wouldn't use, but after sprucing them up......what the heck, they'd be great.
I don't mind doing them. It depends how bad they are to start, which depends how good they look when they're done. If they are really pitted, sometimes that fine line that wraps around the molding disappears, I'm sure that wouldn't matter to most, as long as the molding is smooth and one color again.
Before
After
Thanks again Matt (SVT32VDOHC)
Last edited by Violent J; 05-20-2010 at 07:41 AM.

Looks good. I need to do mine or get them done. Although my before is not quite as bad as yours. Mine are just starting to pit
There are currently 1 users browsing this thread. (0 members and 1 guests)
 Posting Permissions

 Reply With Quote
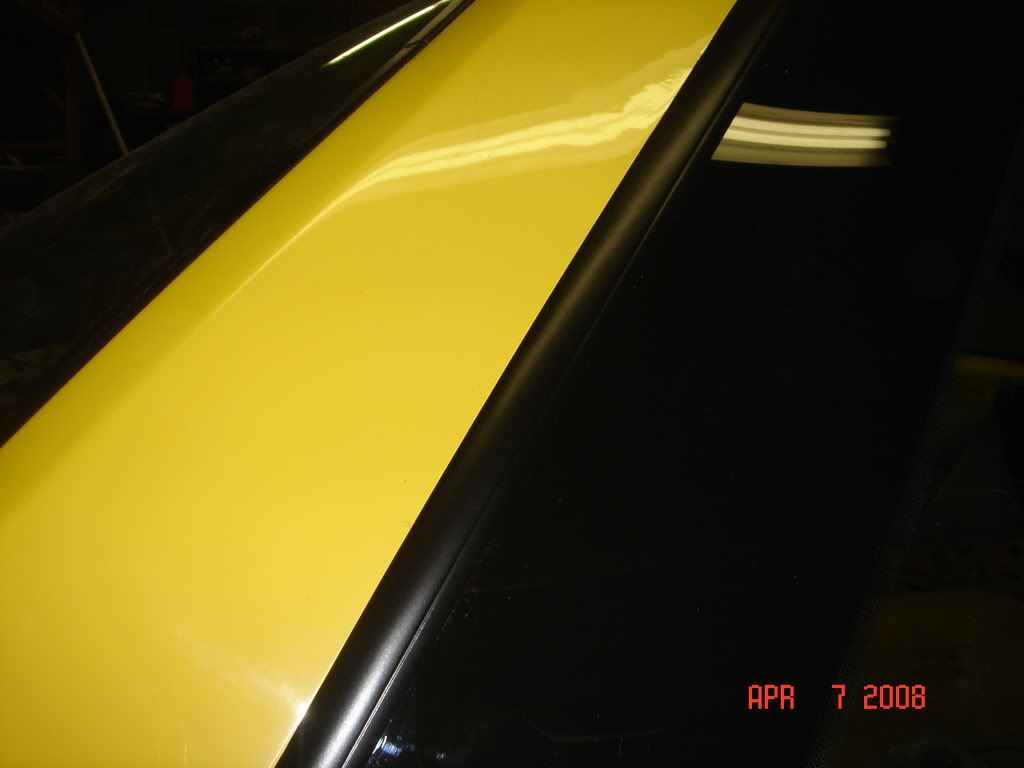


Bookmarks