Results 1 to 9 of 9

Thread: Checking Bump Steer on my Aftermarket Schwartz Chassis for my 1964 Chevelle...Lots of Pics

  1. #1
    Club Member
    Join Date
    Oct 2006
    Location
    Troy
    Posts
    4,274

    Default Checking Bump Steer on my Aftermarket Schwartz Chassis for my 1964 Chevelle...Lots of Pics

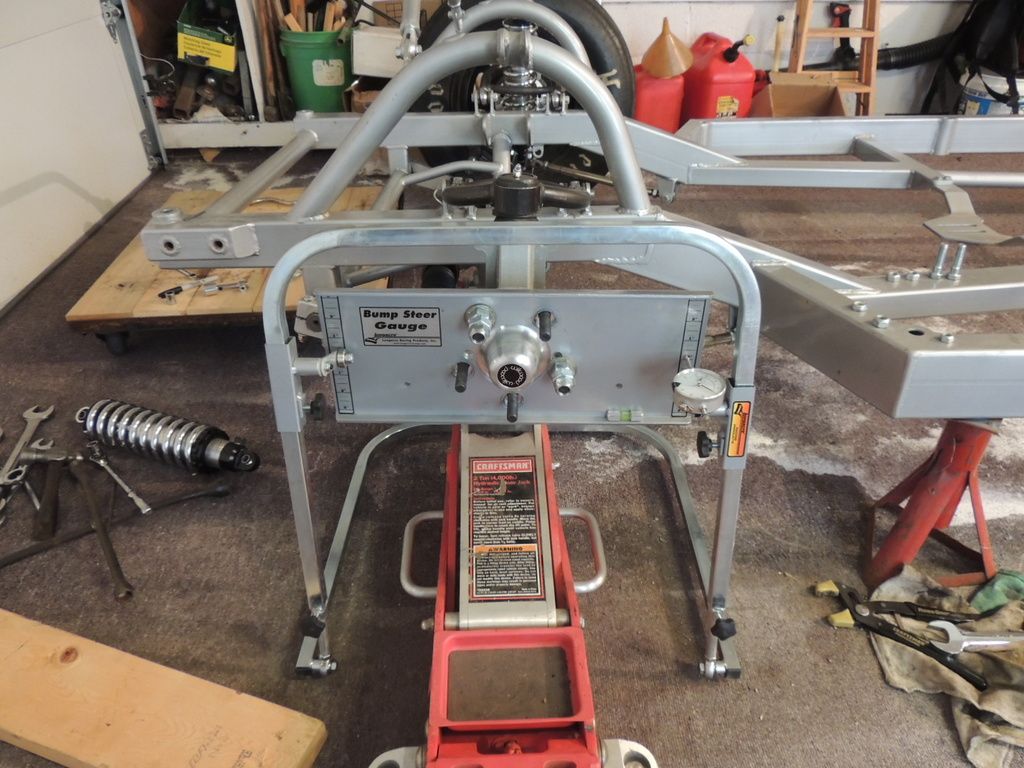
    I decided to check the bump steer on this chassis. Ultimately, this is very, very important and means a lot when cornering. All of the aftermarket people try to eliminate bump steer to get your car to handle.

    Dale Schwartz pointed out that I have an early chassis and improvements have been made in later models. That being said, I currently don't have any initial set-up information for this chassis, but there are a couple of initial problems.

    -The lower control arm and tie rod angles don't seem to be the same. The tie rod is on much more of an angle and the rack position isn't adjustable.
    -The upper control arm was severely bound up. This required removing about 1/8" from one of the spacer/reducers which go into the upper control arm heim ends. The previous owner had to pound the heck out of the control arm to install it, and then it wouldn't move like it should.

    -That being said, even with the heims screwed into the control arm as far as they would go, there is about 3 degrees of positive camber, when you want about 3 to 5 degrees of negative camber. The upper control arm needs to be shortened, but it isn't as easy as chopping about 1/2" from it. There is a cross bar in the way, so that also needs to move, but may interfere with the shock.

    So, before any bump has been checked, modifications are required to the spacers and upper control arms.

    Doing the bump...
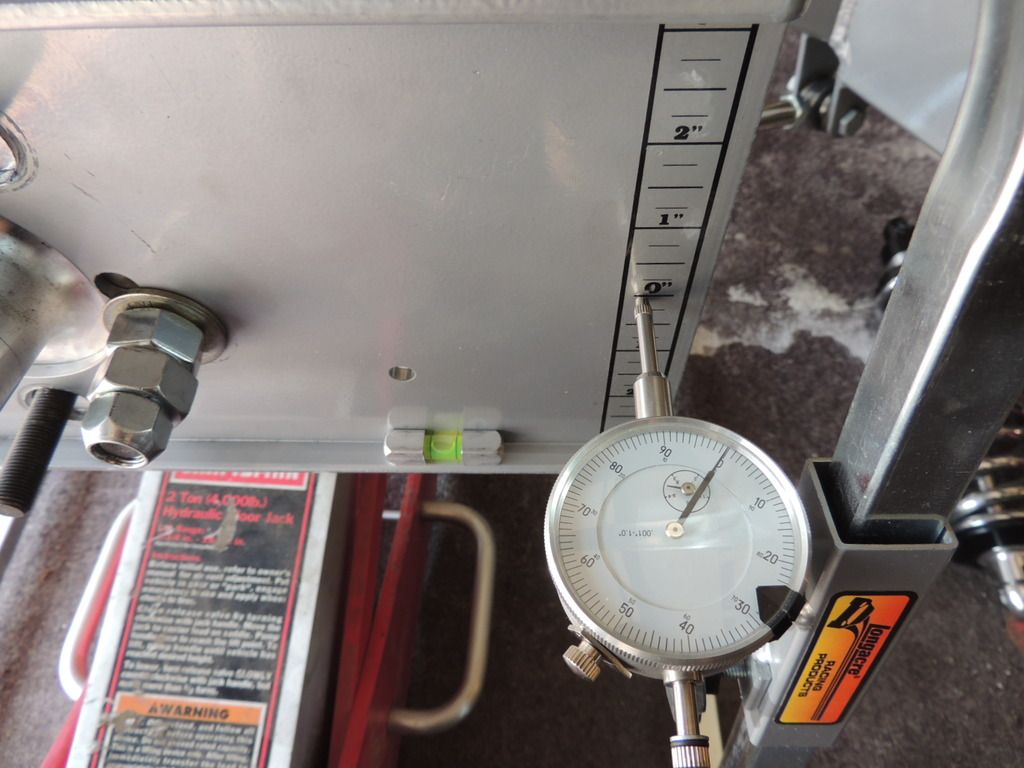
    I initially centered the rack, set the lower control arm parallel to the cross member and leveled the lower control arm. I also set the toe to zero with the bump steer plate.


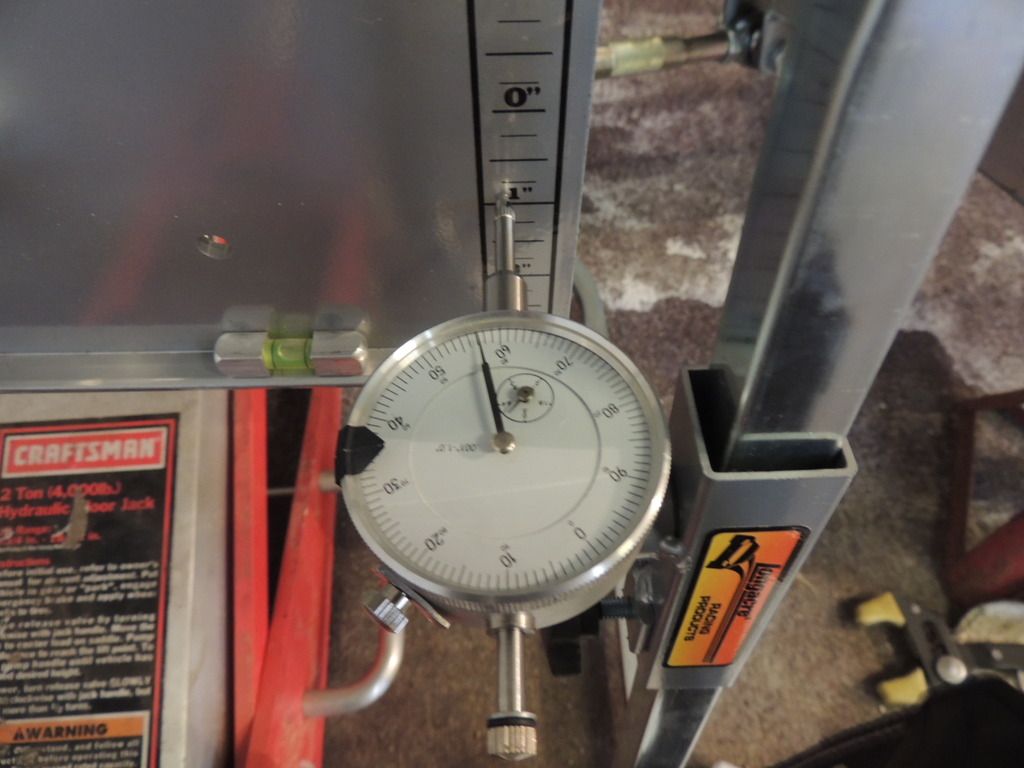
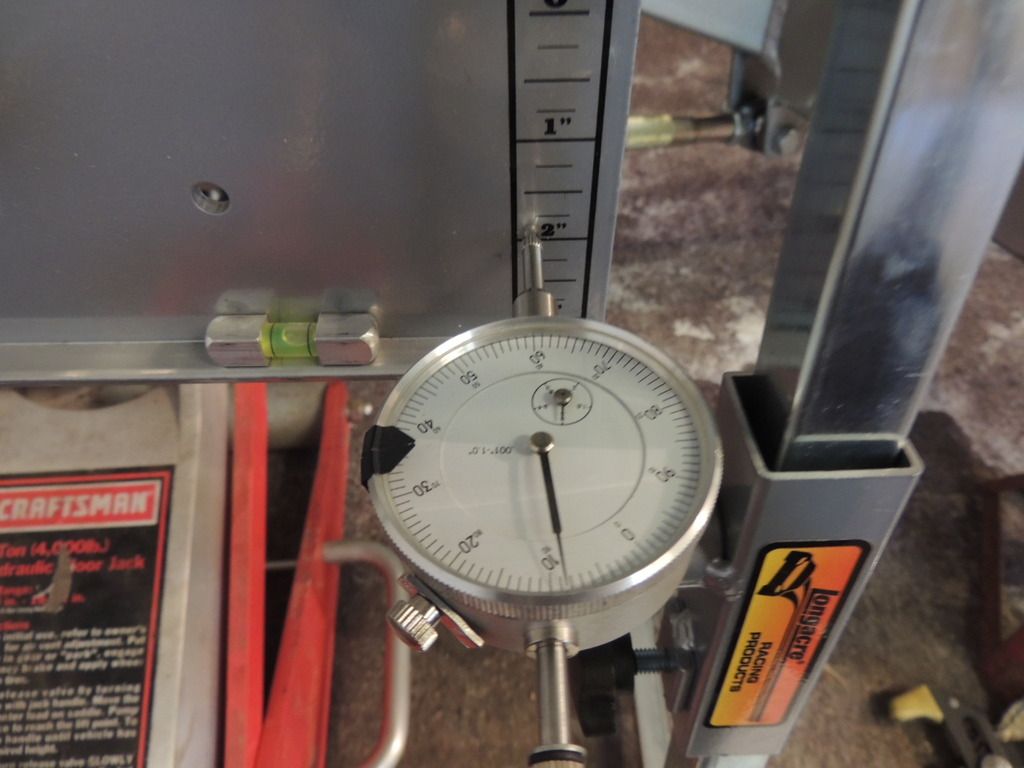
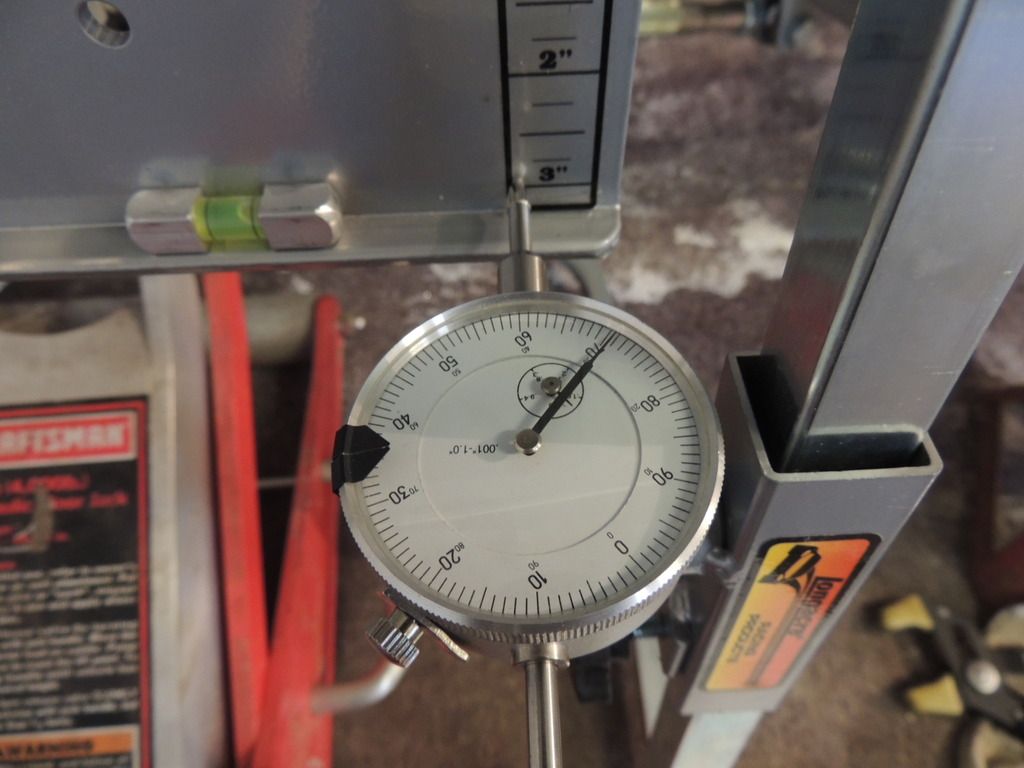
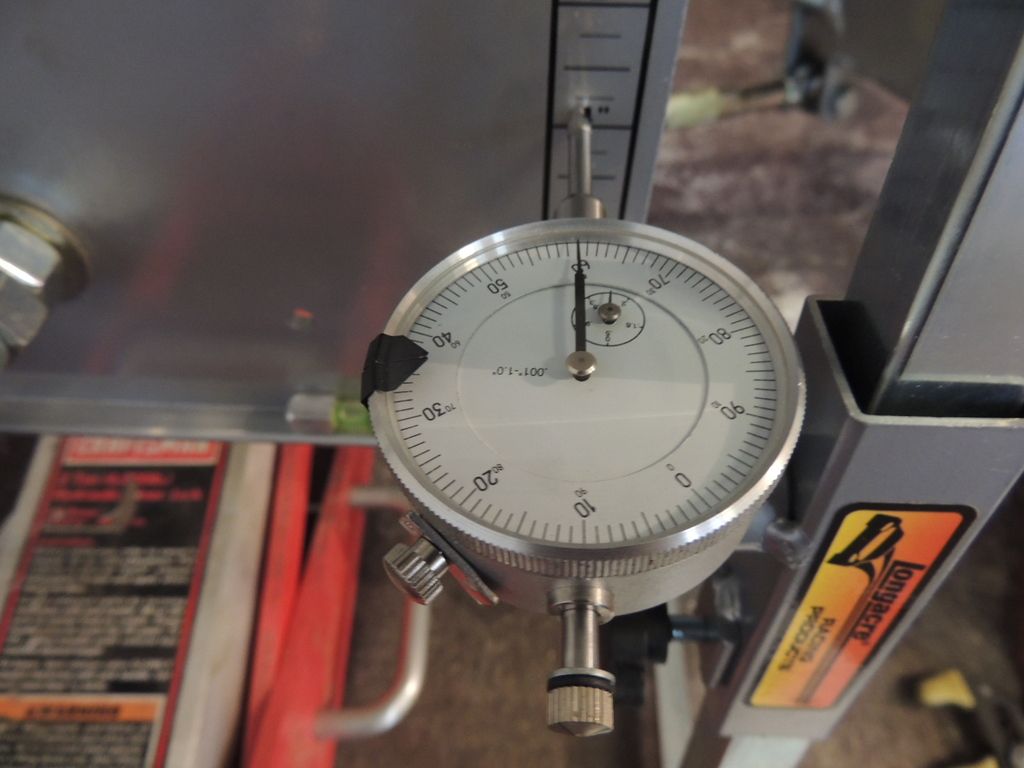
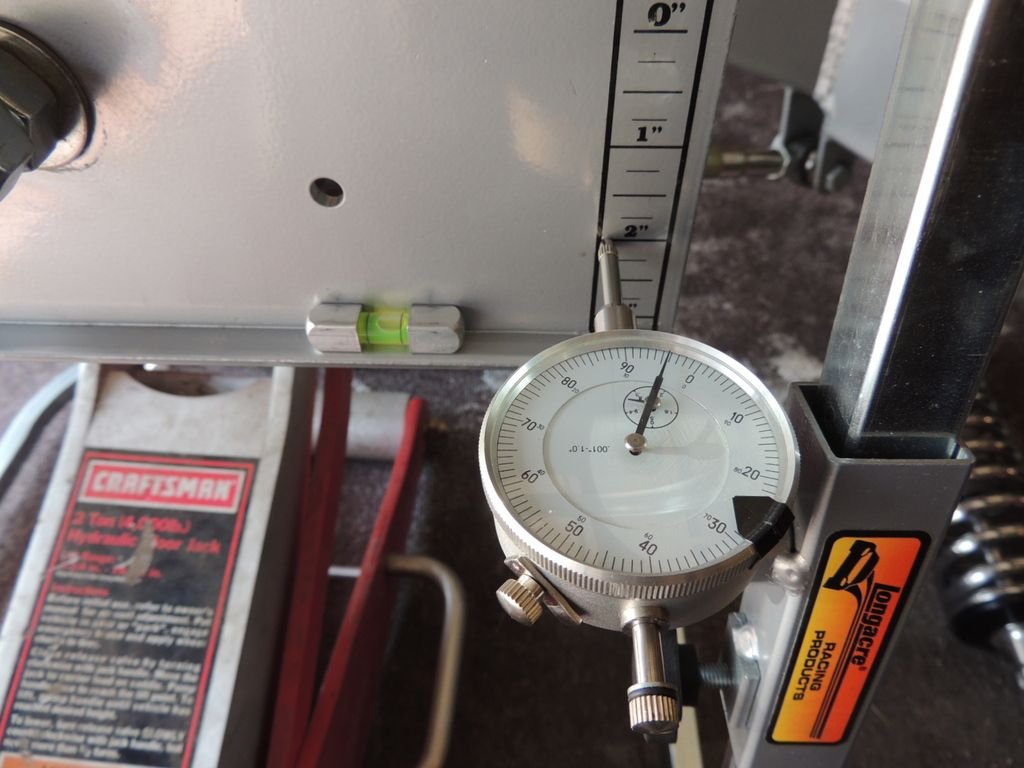
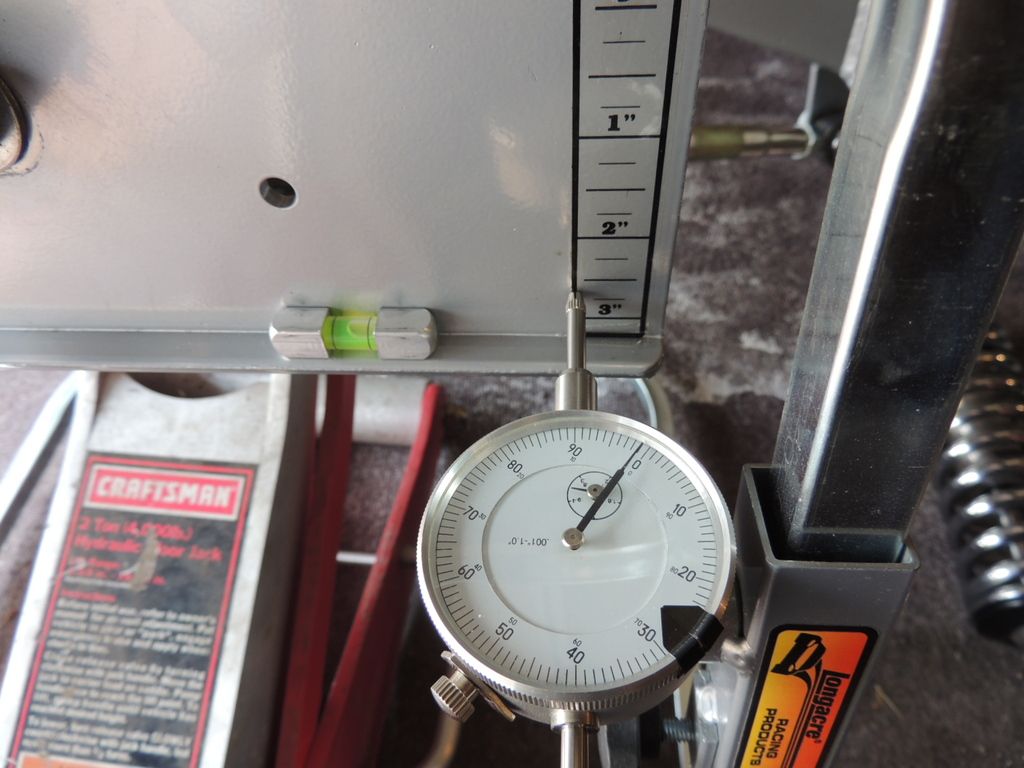
    Bump at 1" thru 3"

    1"


    2"


    3"


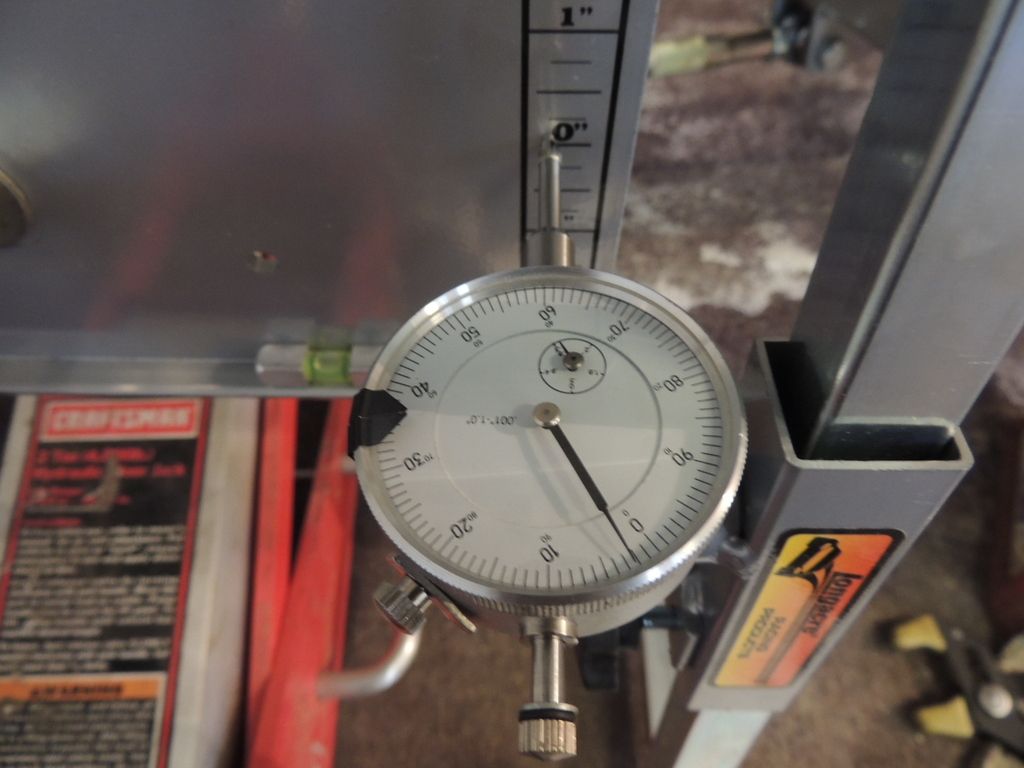
    Bump at 1" Droop


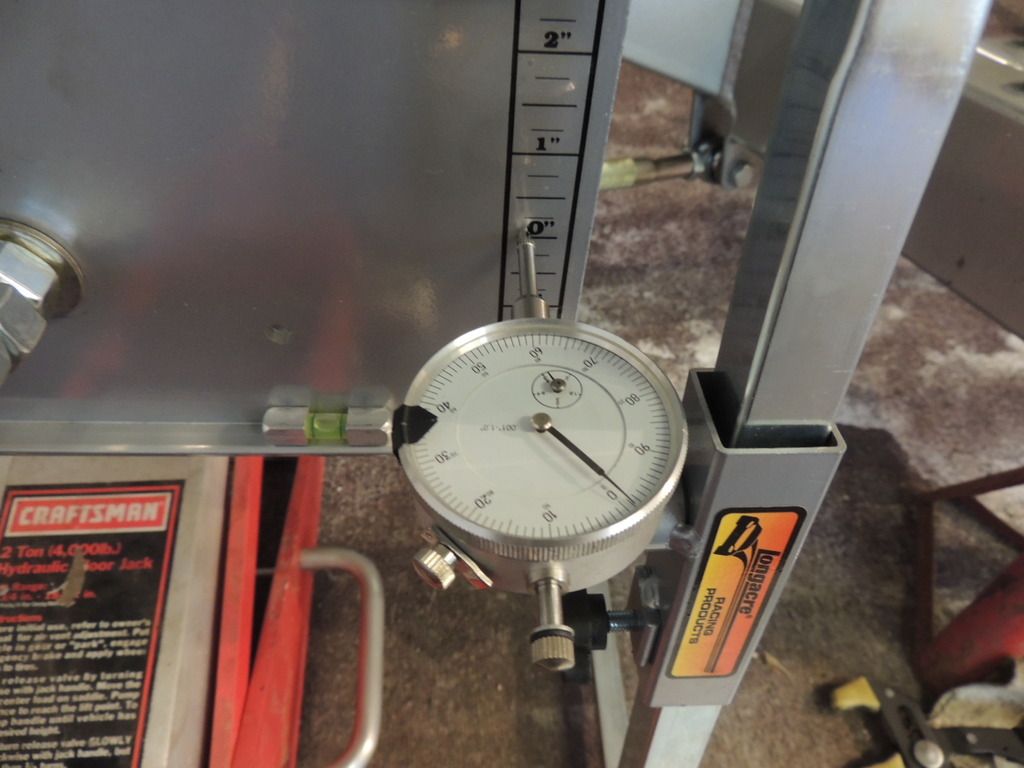
    And back at Zero - Only .002 different from start, so repeatability was good.


    All was toe in
    1" was.057
    2" was .109
    3" was .170

    Droop at 1" was .040.

    Normally, when it is a consistent toe in, you lengthen the tie rod. So, I literally moved the lower control arm and tie rod end out 5/8", which was at the end of the threads on the rack. This made everything worse, much worse.

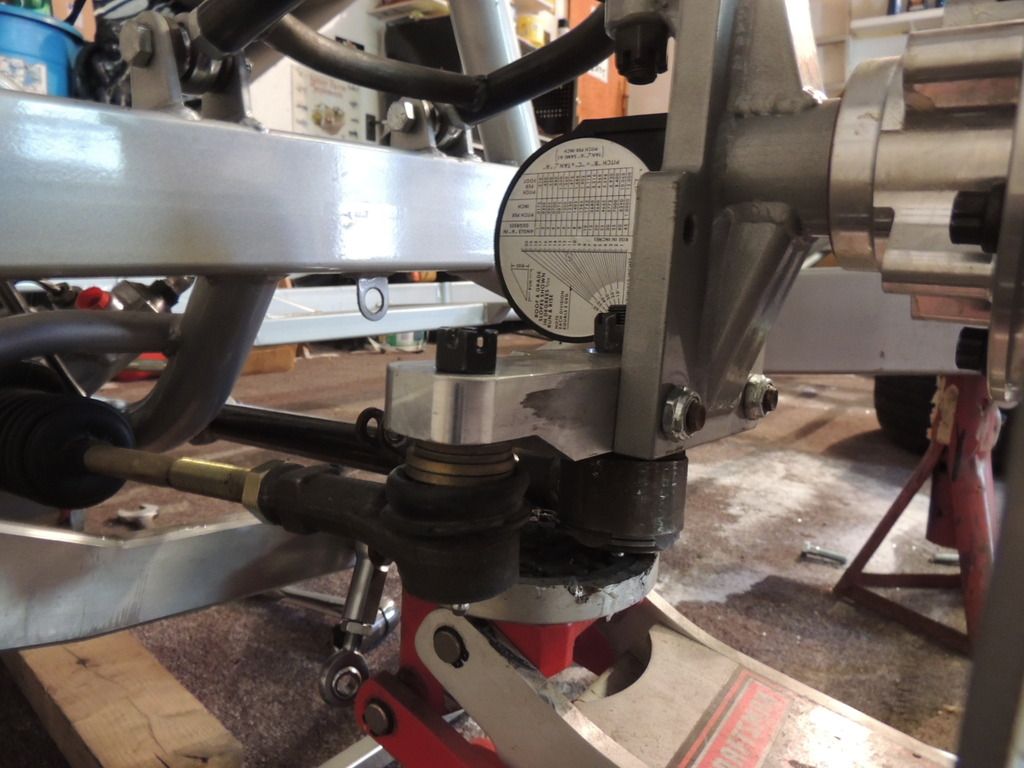
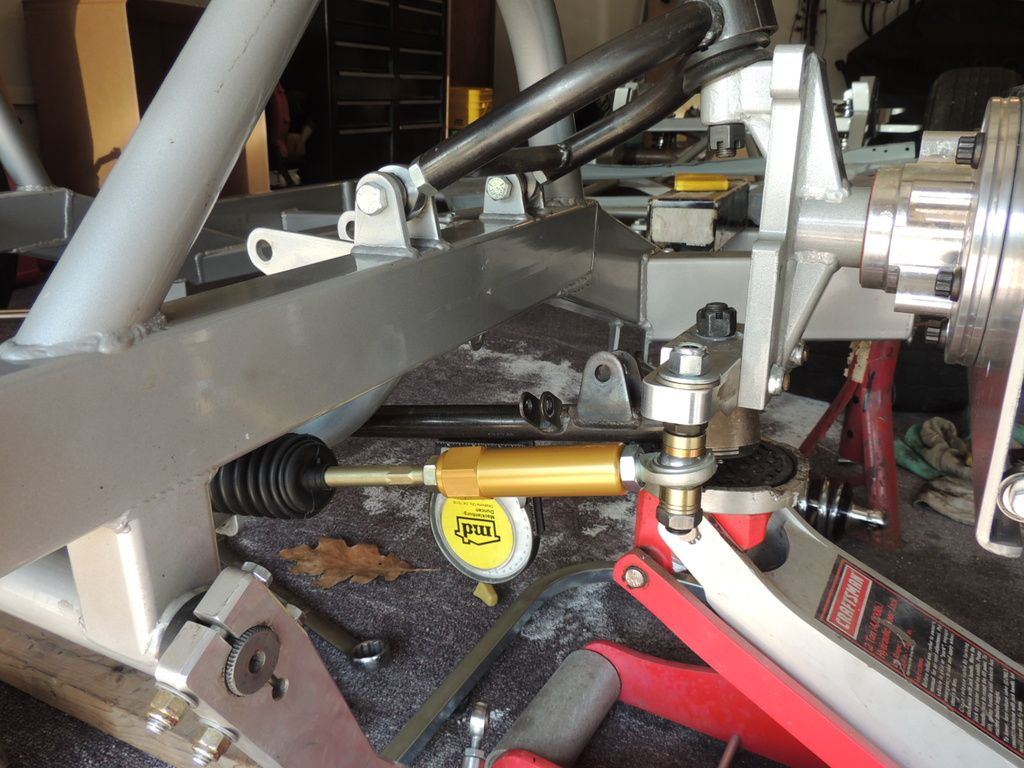
    So, I moved the tie rod down with spacers, just to see what will happen. This brought the tie rod and control arm angles a little closer together and helped the bump quite a bit, but I need a bit more.

    I moved it down about 7/16" which was as far as I could and still get a nut on it. Since this has a conventional OEM tapered rod end, then only thing I can do to fix it is make a new steering arm, or drill the arm and use a female heim on it with spacers. The arm actually looks as if it was built upside down. There is about 1/2" of material machined from the bottom of the steering arm with spacers as shown in this last picture. If the arm was the other way, then I think the bump would be a lot closer. It can't really be fixed because of the ball joint and tie rod tapers


    This is not very good for a competition car. It was nearly 3/16" at 3" of travel. Normally a car with stock type spindles, this should be no more than .020 and aftermarket racing spindles, this would be less than .010.

    Once again, the camber wasn't set which affects everything, but not a whole lot. It seems I have quite a bit of work to do as this was just the drivers side and I am sure the passenger side is about the same.

    grr
    Last edited by grr456; 03-22-2015 at 06:36 PM.

  2. #2
    Club Member 4 cam tbird's Avatar
    Join Date
    Jun 2005
    Location
    Northville, MI
    Posts
    14,825

    Default

    Makes me wonder how much of a mess my car is, LOL.

    What's the story on this Chevelle? What sort of racing will it be doing?
    -Brad
    1968 Ford Torino - DOHC 4.6, T-56, Project
    2011 Cadillac CTS-V Wagon
    1998 BMW 540i Sport

  3. #3
    Elected Club Official
    Join Date
    Sep 1999
    Location
    "The Place to Be"
    Posts
    35,655

    Default

    Love seing posts like this, you're a talented guy Gary!

  4. #4
    Club Member
    Join Date
    Oct 2006
    Location
    Troy
    Posts
    4,274

    Default

    Quote Originally Posted by 4 cam tbird View Post
    Makes me wonder how much of a mess my car is, LOL.

    What's the story on this Chevelle? What sort of racing will it be doing?
    Just for fun, Brad. You may as well fix it while you have the chance....

    I can do yours, if you want....

    Gary

  5. #5
    Club Member 4 cam tbird's Avatar
    Join Date
    Jun 2005
    Location
    Northville, MI
    Posts
    14,825

    Default

    What was it originally built to do? Someone just upgrading an old Chevelle or were they racing it in some form?
    -Brad
    1968 Ford Torino - DOHC 4.6, T-56, Project
    2011 Cadillac CTS-V Wagon
    1998 BMW 540i Sport

  6. #6
    Club Member
    Join Date
    Oct 2006
    Location
    Troy
    Posts
    4,274

    Default

    Quote Originally Posted by 4 cam tbird View Post
    What was it originally built to do? Someone just upgrading an old Chevelle or were they racing it in some form?
    Schwartz builds a tube chassis for quite few different muscle cars. This is "supposed" to be a direct bolt on, but it isn't....There is quite a bit of work to do..
    http://www.schwartzperformance.com/chassis/

    Gary

  7. #7
    Club Member Krazybones's Avatar
    Join Date
    Aug 2005
    Posts
    13,948

    Default

    Great Thread Gary, hope you get it sorted out sooner than later. Looking forward to seeing this Mint Chevelle out and when I can drive it.
    ****MATT*****

  8. #8
    Club Member 4 cam tbird's Avatar
    Join Date
    Jun 2005
    Location
    Northville, MI
    Posts
    14,825

    Default

    I had no idea the number of cars Schwartz made stuff for.
    -Brad
    1968 Ford Torino - DOHC 4.6, T-56, Project
    2011 Cadillac CTS-V Wagon
    1998 BMW 540i Sport

  9. #9
    Club Member
    Join Date
    Oct 2006
    Location
    Troy
    Posts
    4,274

    Default Corrected The Bump Steer....

    After figuring out which rack is installed on this chassis and finding out you can buy offset bushings and a bump steer kit, I fixed my bump steer on this chassis.

    The bump steering was terrible and totally unsuitable even for a regular street car and something needed to be done.

    I bought a set of offset bushings for the rack mounting bolts. The holes were too small for the steel bushings so I tried drilling them out. Have you ever tried drilling semi-soft rubber with a 7/8 drill bit? Well, it doesn't work very well. I have a nice drill press and vice but once the drill got about 1/4" into the rubber, it would catch and pull the bushing out of the vise and send it for a ride. I tried everything to get it to work, but whenever I tried clamping the bushing tighter, it would collapse more, oblong the holes and still not work...I finally just got out my die grinder, chucked up a round wood rasp and enlarged the holes that way. It was much faster than drilling and worked pretty well.

    So, after installing the bushings and raising the rack about an inch, installing my bump steer kit putting a bunch of spacers under the tie rod end, I got the bump seer to go from 3/16 in to 1/4" out. I knew then I was heading in the right direction...I moved the rack back down about 1/2", took out most of the spacers and the bump went back to toe-in.

    After fiddling with spacers I got the bump to within .005 toe -out which is pretty much ideal. Now all I'll have to do is cut about 1/2" from the rack threaded end and this will be all taken care of...

    grr

    Start and End at Zero - Everything level


    1" of travel - About .005" Travel


    2" of Travel - Less than .005"


    2-1/2" of travel - Back to Zero


    Bump Steer Kit


Thread Information

Users Browsing this Thread

There are currently 1 users browsing this thread. (0 members and 1 guests)

Bookmarks

Posting Permissions

  • You may not post new threads
  • You may not post replies
  • You may not post attachments
  • You may not edit your posts
  •